instantOLAP tutorial – Lesson 1: Installation
Since many things have changed between the versions 2.2 and 2.5, we will upgrade and extend our tutorial and to post it here lesson by lesson. This is the first part and it contains the basics like how to install and start the server:
- Downloading and installing instantOLAP
- Starting and stopping the server
- Connecting the server with the Workbench
- Installing a license-code
- Opening the Web-Frontend
[toc]
System requirements
Make sure your workstation is well-equipped enough to run the instantOLAP-server and Workbench. This are the minimum system-requirements you need to develop locally with instantOLAP:
- Processor: 1,5 GHz or faster
- Operating system: Windows (XP / Vista / Server) or Unix / Linux with GUI
- Memory: 1024 MB or more
- Harddisk space: 500 MB or more
Installation
Download
We recommend to use the Windows-version of instantOLAP for this tutorial, which comes with an installer and a simple example database (which is used as an example for this tutorial, too). You can download and install instantOLAP from our download page.
Installation
The installer is a self-installing archive for the Microsoft Windows operating system. It comes with a build-in Java Runtime Environment and Webserver, so there is nothing else you need to install in ahead. Start the installer and follow the dialog. Make sure you install all components, including the „Getting started“ application, and not to uncheck the „Open ‚Getting started‘ menu after installation“ option.

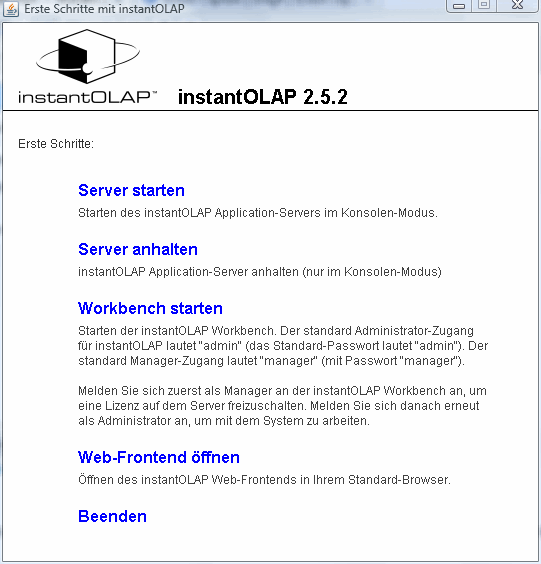
After instantOLAP is sucessfully installed, the „Getting started“ application opens. It contains links for all basic tasks like starting and stopping the server or opening the Workbench or Web-Frontend:

Starting and stopping the server
In productive environments (under Windows) you should install the server as a Windows service and let in run invisible in the background, but for this tutorial we will run the server in the „console mode“:Â The console mode runs the server in a simple „Black console window“ which automatically stops whenever you shutdown your workstation, log out or simply close the window.
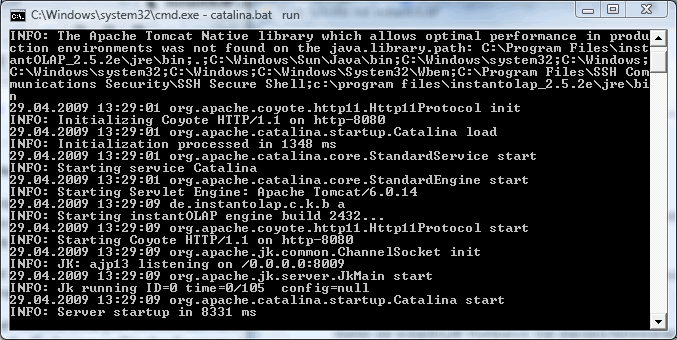
To start the server in the console mode, click on to the „Start server“ link in the getting started application. A new window will open and the server will start, piping all its messages to the console. After a couple of seconds, the server should display „INFO: Server startup in xxxx ms“ – which means it is ready and no error happened while starting.

To stop the server later, use the „Stop server“ link from the „Getting started“ window or just press Ctrl-C in the server console or close the console window.
Installing a license
Before you can use the server the first time, you must install a license on it. You will need a valid license code which you can request from „request license“ page. After you successfully requested the license, you will receive an EMail which contains a license for 3 concurrent users, valid for 30 days.
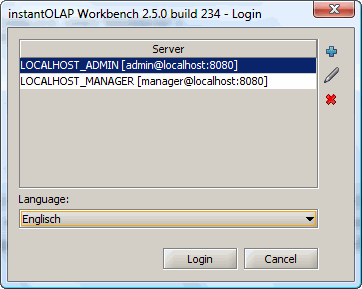
To install this license you need to contact your server with the Workbench. The Workbench is the main administration tool for instantOLAP, e.g. you will need it to create models, to manage user accounts or to install licenses. Start the Workbench by clicking onto the „Start Workbench“ link in the „Getting started“ window. Now, a small dialog opens which contains all saved connections of your local Workbench installation:

After its first installation, the Workbench contains two pre-configured connections: A connection to a server running on „localhost:8080“ (which is your own computer) for the user „admin“ and a second connection for the same server but for the user „manager“.
It is important to understand these are two different kind of users:Â An administrator creates models and queries, organizes projects and access-rights and so on – this is the user account we will use later for our tutorial. A manager administrates user accounts and licenses and has full access to all folders, but is not able to create models and queries. For security reasons, these tasks are divided between two different user types and usually a server has only one manger but more administrators.
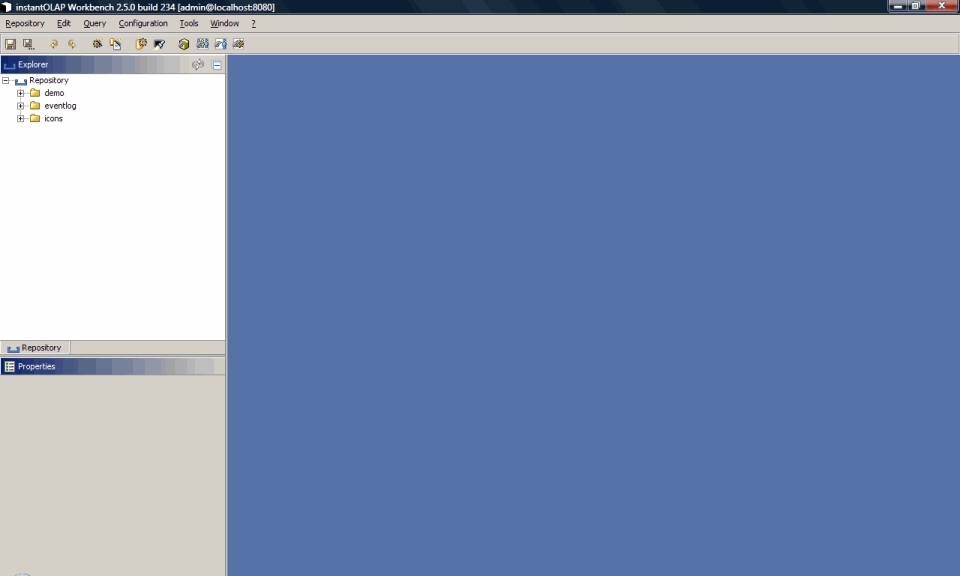
As you might have expected, you will need to connect the server with the manager account first to install the license key. Just double-click the manager-account (the password is already stored in the connection) and the Workbench will connect your server. Then the Workbench desktop appears and opens a license dialog where you can enter your new license-key:

Type in your license code or copy and paste it from your license EMail. Then use the „Set“ button to add the license to the license-pool of your server. If everything went okay, the license dialog will disappear and you will see the Workbench desktop.

Now you can close the Workbench, there is no other task you need the manager for yet. For a test, you can try to connect the server again with the administrator account.
Opening the Web-Frontend
The last step of the installation is to open and to test the Web-Frontend of your server. The „Getting started“ window also contains a last link „Open Web-Frontend“ which starts a Browser and locates the frontend of your local installation (you can also locate your frontend manually by typing the URL „http://localhost:8080/iolap“ into the address bar of your Browser):

In the basic installion of instantOLAP, you do not need to login when opening the frontend because you are logged in the with account „guest“ automatically. Try some of the reports to check if the frontend is working.
Leave a comment